
I used Passbolt to manage passwords at home and here’s how it went

Getting your family to adopt new technology is a double-edged sword, especially when they use passwords that are easy to guess. That’s scary since the internet is rife with scams and hacks, making password management paramount. To safeguard my family’s technology, I explored options for an open-source password manager that encourages setting stronger passwords and easily sharing them without sending anything outside my home network.

Those were some of my few requirements for selecting Passbolt. I treat it as a trial run before I splurge on an expensive password management subscription and struggle to onboard others. I intend to share the login details for basic devices like my computer, router, TV, Netflix profiles, self-hosted services, and other online services with my family. I won’t add banking or credit card details to the Passbolt server, and I can easily remove them if someone adds anything accidentally. Choosing a frugal approach, I deployed Passbolt on a Raspberry Pi 4B with 4GB of RAM.
Here’s what you’ll need to install and run Passbolt:
- Raspberry Pi with at least 2GB of RAM
- 16 GB or 32 GB microSD card
- Nginx server running on the machine
Setting up a Tailscale instance would make the process easier and safer, especially if you want to manage your home lab remotely. Passbolt recommends installing on a fresh, vanilla server with minimal requirements for dependencies, as changes may break some features. I set up Passbolt on Pi 4 with a headless Raspbian Pi OS Lite (64-bit) operating system. If you use any other Linux flavor distro, adjust the commands and syntax accordingly.

Related
3
Generate the SSL certificates for your Raspberry Pi
Important for in-browser security, even locally

Most self-hosted apps you run locally use HTTP. Following the same for a password manager would be an abomination. That’s probably why Passbolt mandates using HTTPS with an SSL certificate for better security. And the best part is, you can manually add those SSL certificates. I tried to use self-signed certificates, but the browsers kept throwing a “Not Secure” error with a red alert triangle next to the lock in the address bar.
Luckily, I have a Tailscale instance running on my Raspberry Pi, which lets me enable HTTPS for better security. However, I must use the specific machine as it appears in the Tailscale configuration, which is crucial for generating an SSL certificate. Here’s how you can find a machine’s name from the Tailscale dashboard:
1. Sign in to the official Tailscale website with your login details.
2. From the Tailscale Dashboard, click on the machine name for which you intend to generate an SSL certificate.

3. Note the Full Domain name of that machine.

After that, open the terminal on your Pi and create a dedicated folder:
mkdir certs
Then, navigate to that folder.
cd ./certs
Now, run the following command to use Tailscale to generate SSL certificates for your machine.

tailscale cert. .ts.net
In this command, replace the Machine Name and Tailnet with the values of Full Domain that you noted earlier.
Once Tailscale generates the certificate and key, make sure it is accessible to Nginx’s ‘www-data‘ user. You can enable permissions with the following commands:
sudo chown -R www-data:www-data /path/to/machinename.tailnet.ts.net.certsudo chown -R www-data:www-data /path/to/machinename.tailnet.ts.net.key
Add the relevant folder path storing the .cert and .key files on your machine. One of the key benefits of using Tailscale certs is that you can be the admin and the only one with Tailscale credentials to manage the passwords in Passbolt.
2
You can opt for Google’s SMTP server for email notifications
Skip this if you use another email provider

Instead of setting up an SMTP server from scratch, I chose Google as the service provider to send email notifications. If you plan to use the same, you can use your Google Account page to create a unique App Password for Passbolt.
Open the Google’s App Password page in a browser, set Passbolt as the app name, and create a new 16-digit unique password. Once the password appears in the pop-up, you must copy the 16-digit password and save it somewhere safe. That’s because if you lose or forget the unique password, you won’t be able to retrieve or view it again.
1
Next, install Passbolt Server on your Raspberry Pi
It sets up most of the environment variables
Passbolt Community Edition is the free version you can deploy on your machine. You can install it natively using Docker or directly on the supported OS. While its installation is interactive, it takes a few minutes to complete unless there’s an issue with the SSL certificates.
Installing the Passbolt server
-
Run the script that gathers all the dependencies required for Passbolt:
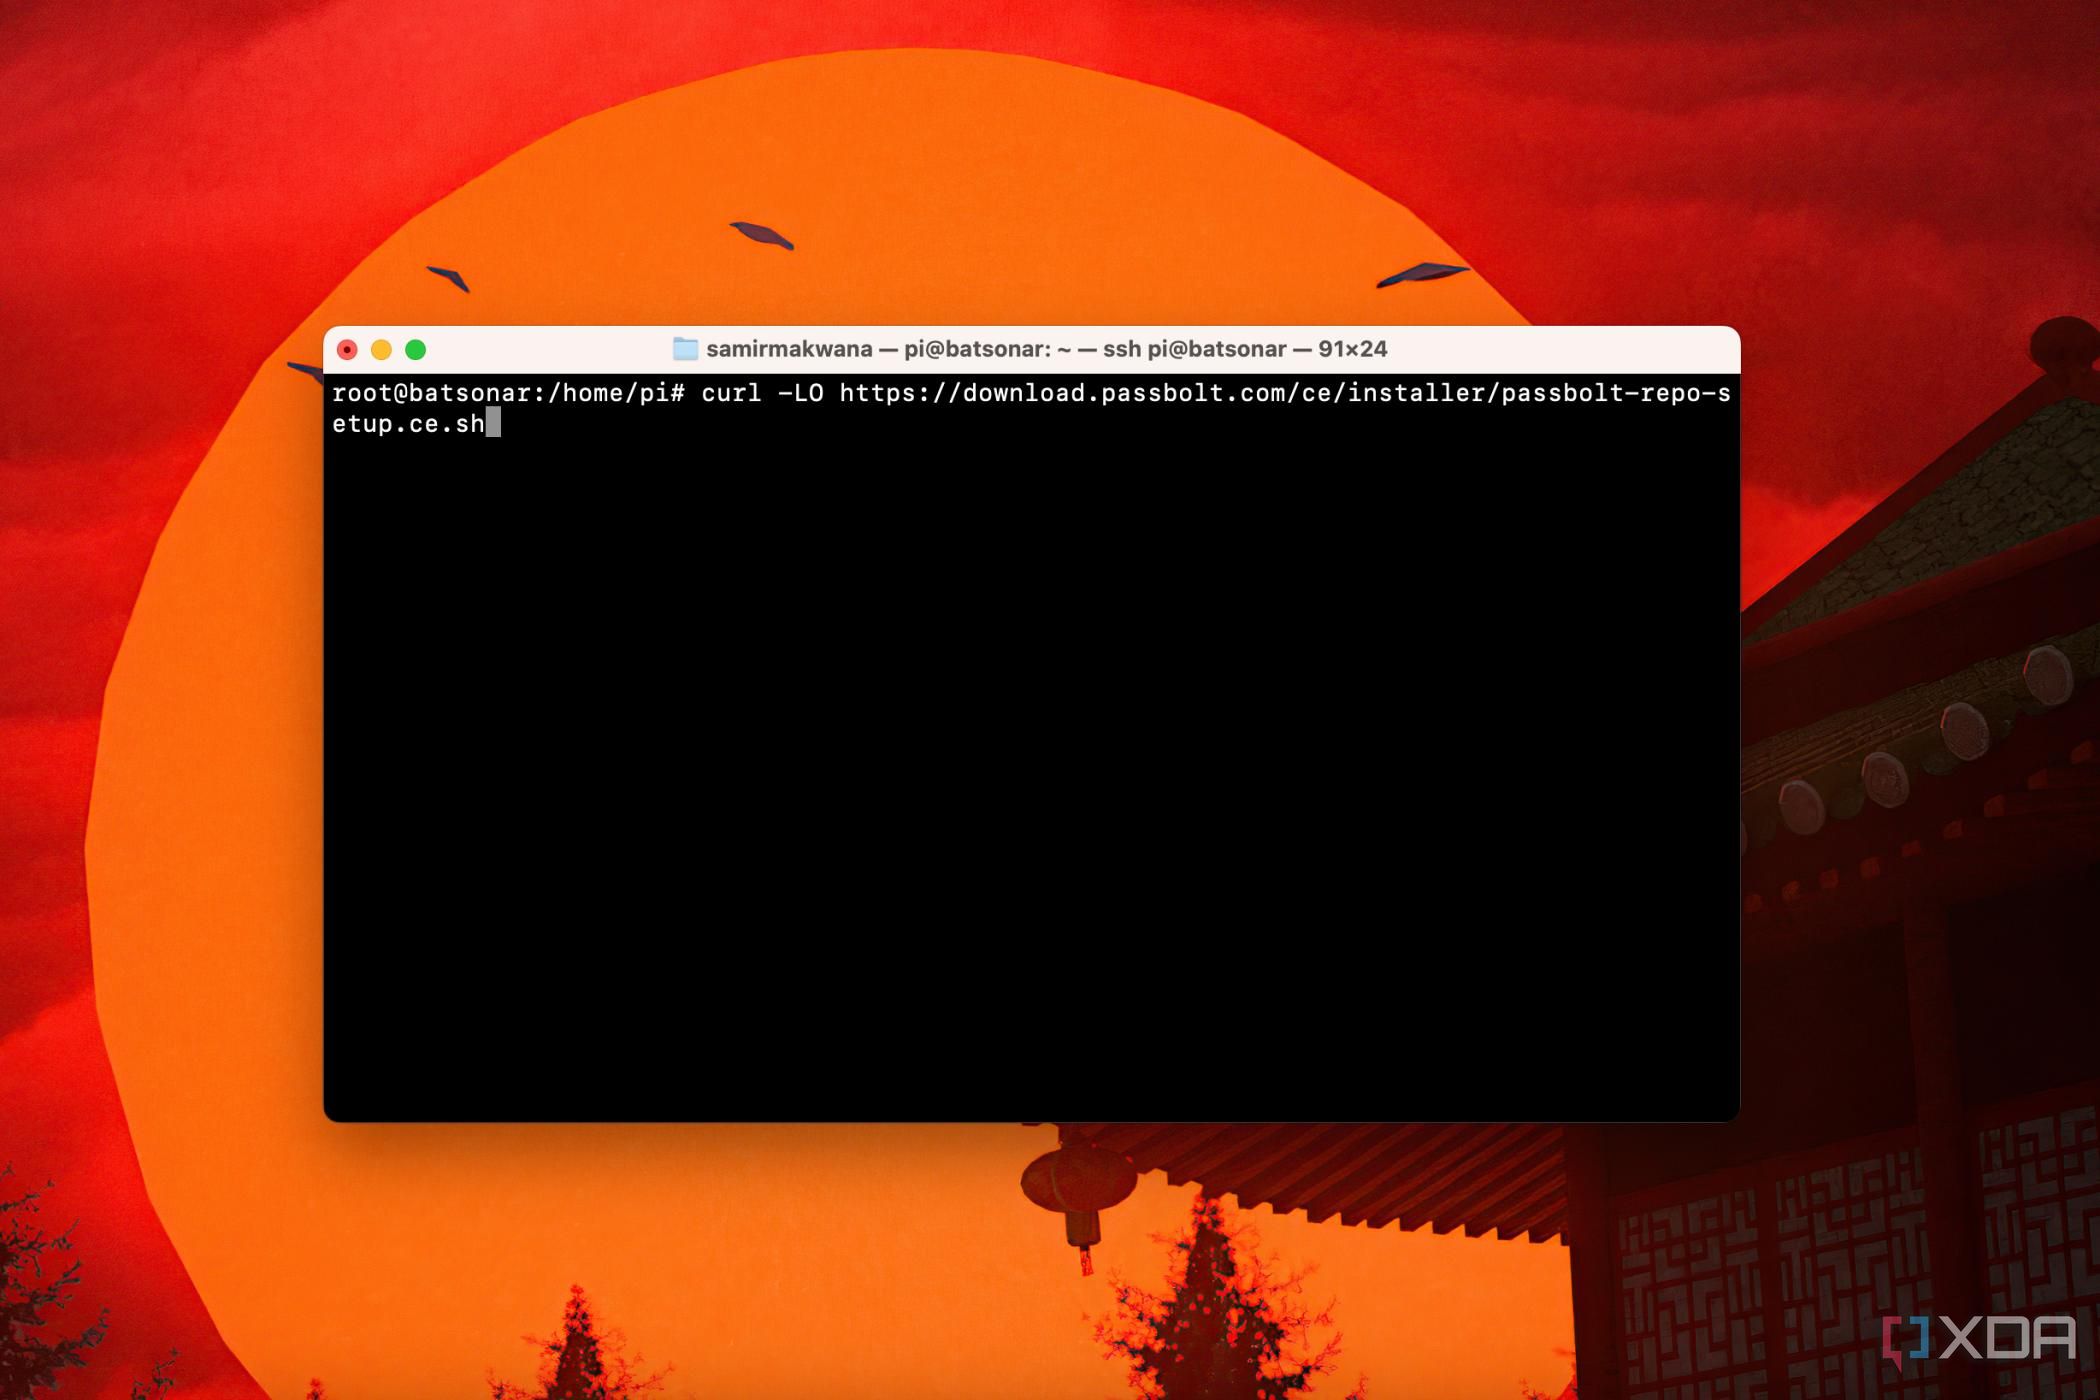
curl -LO
-
Download the Passbolt Community Edition’s SHA512SUM and save it:
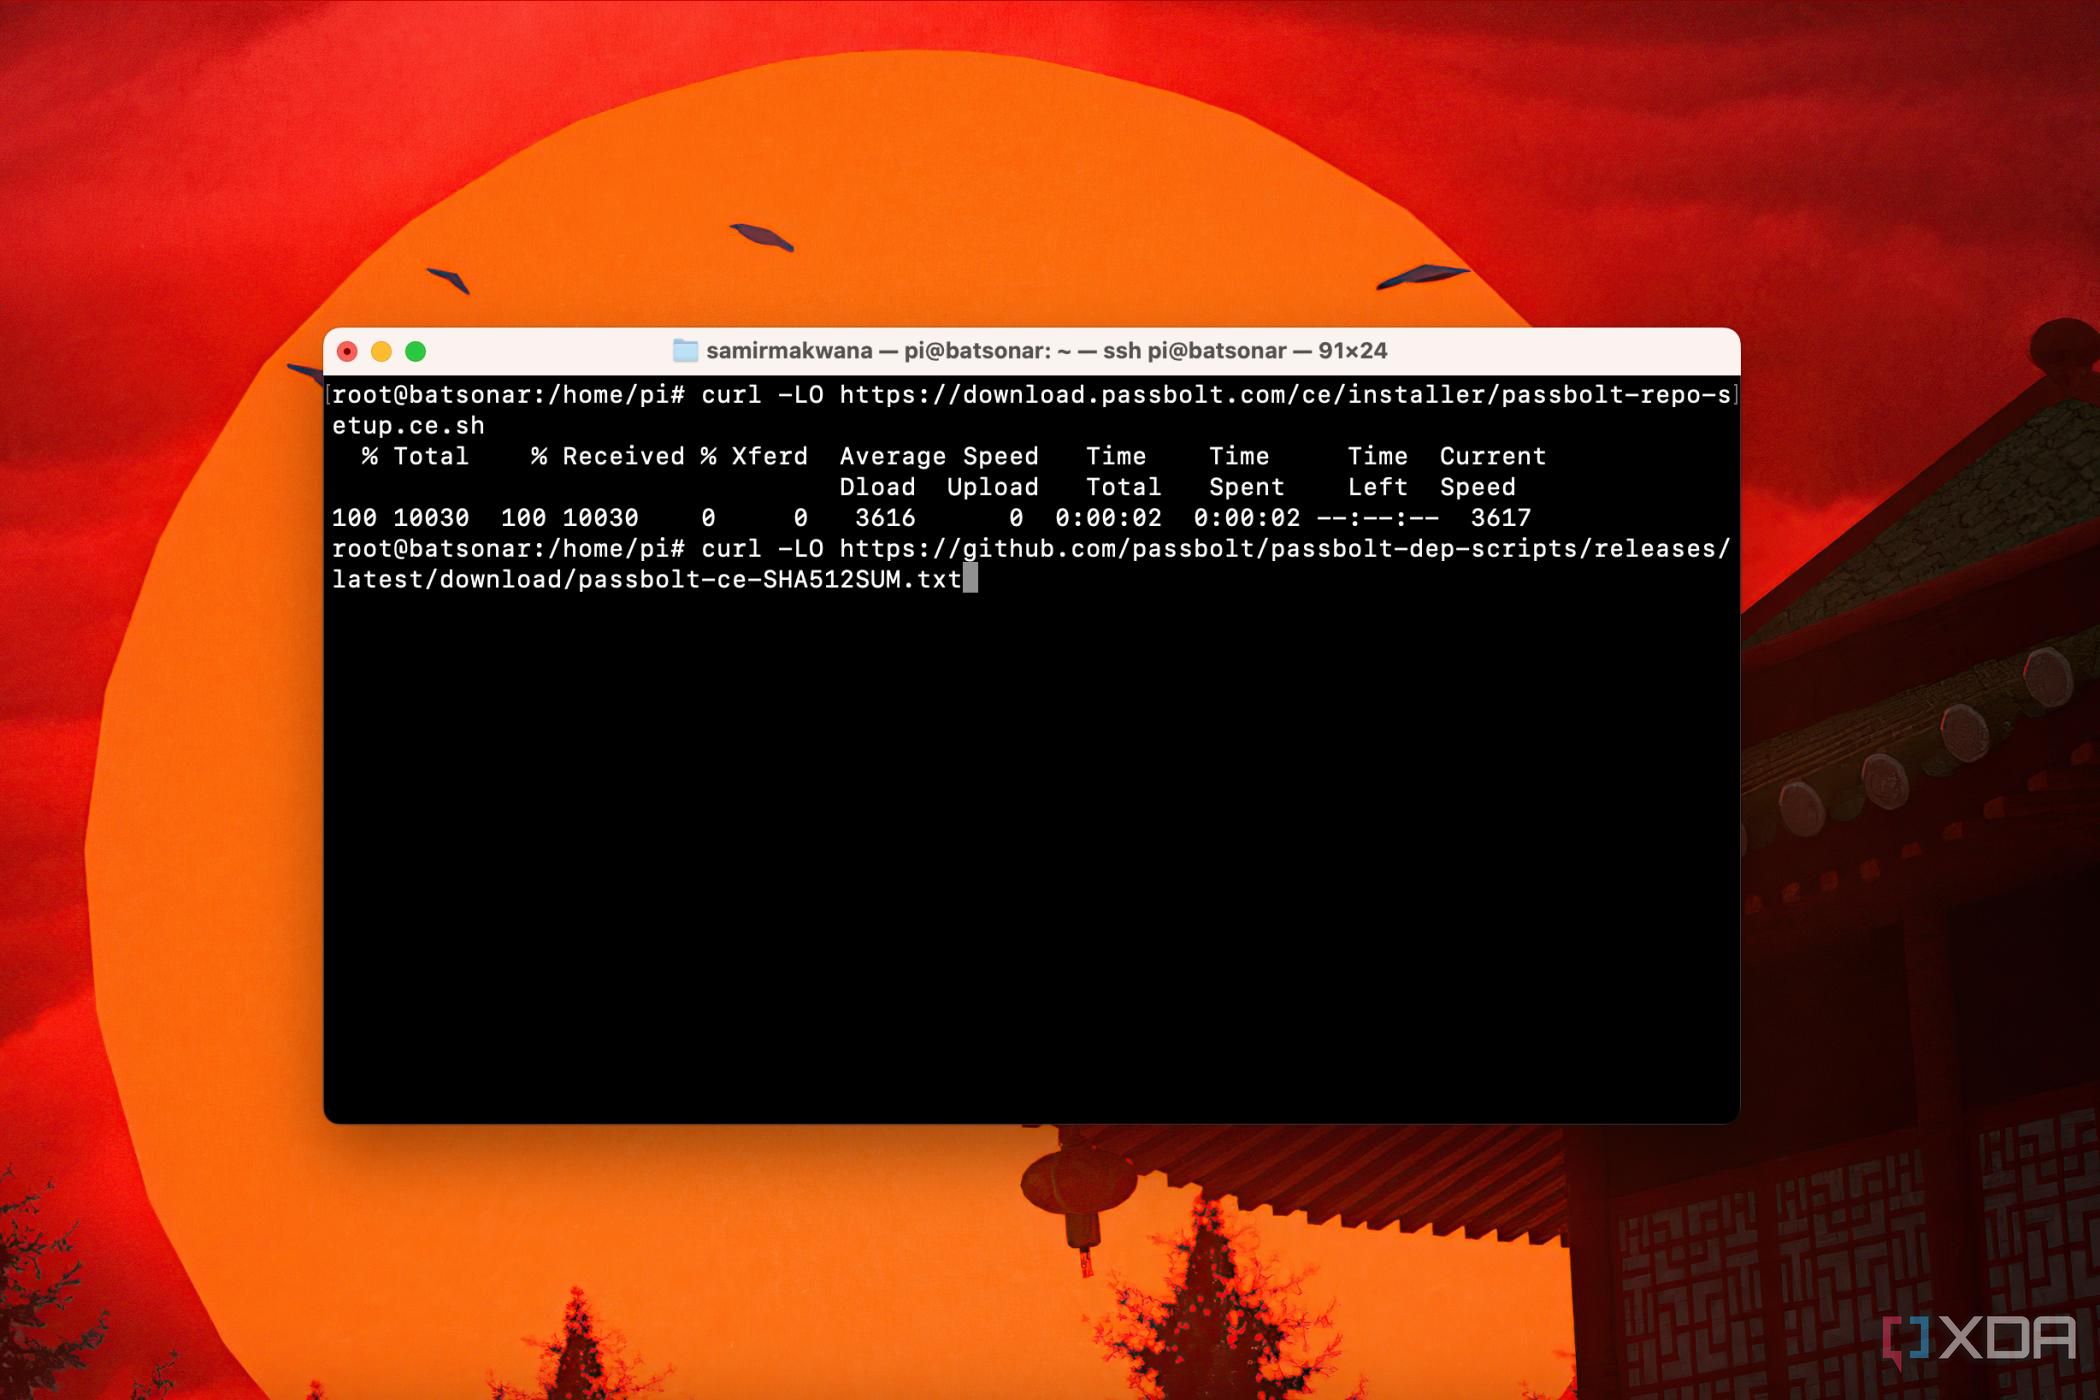
curl -LO
-
Test the validity of the Passbolt installation script before you run it:
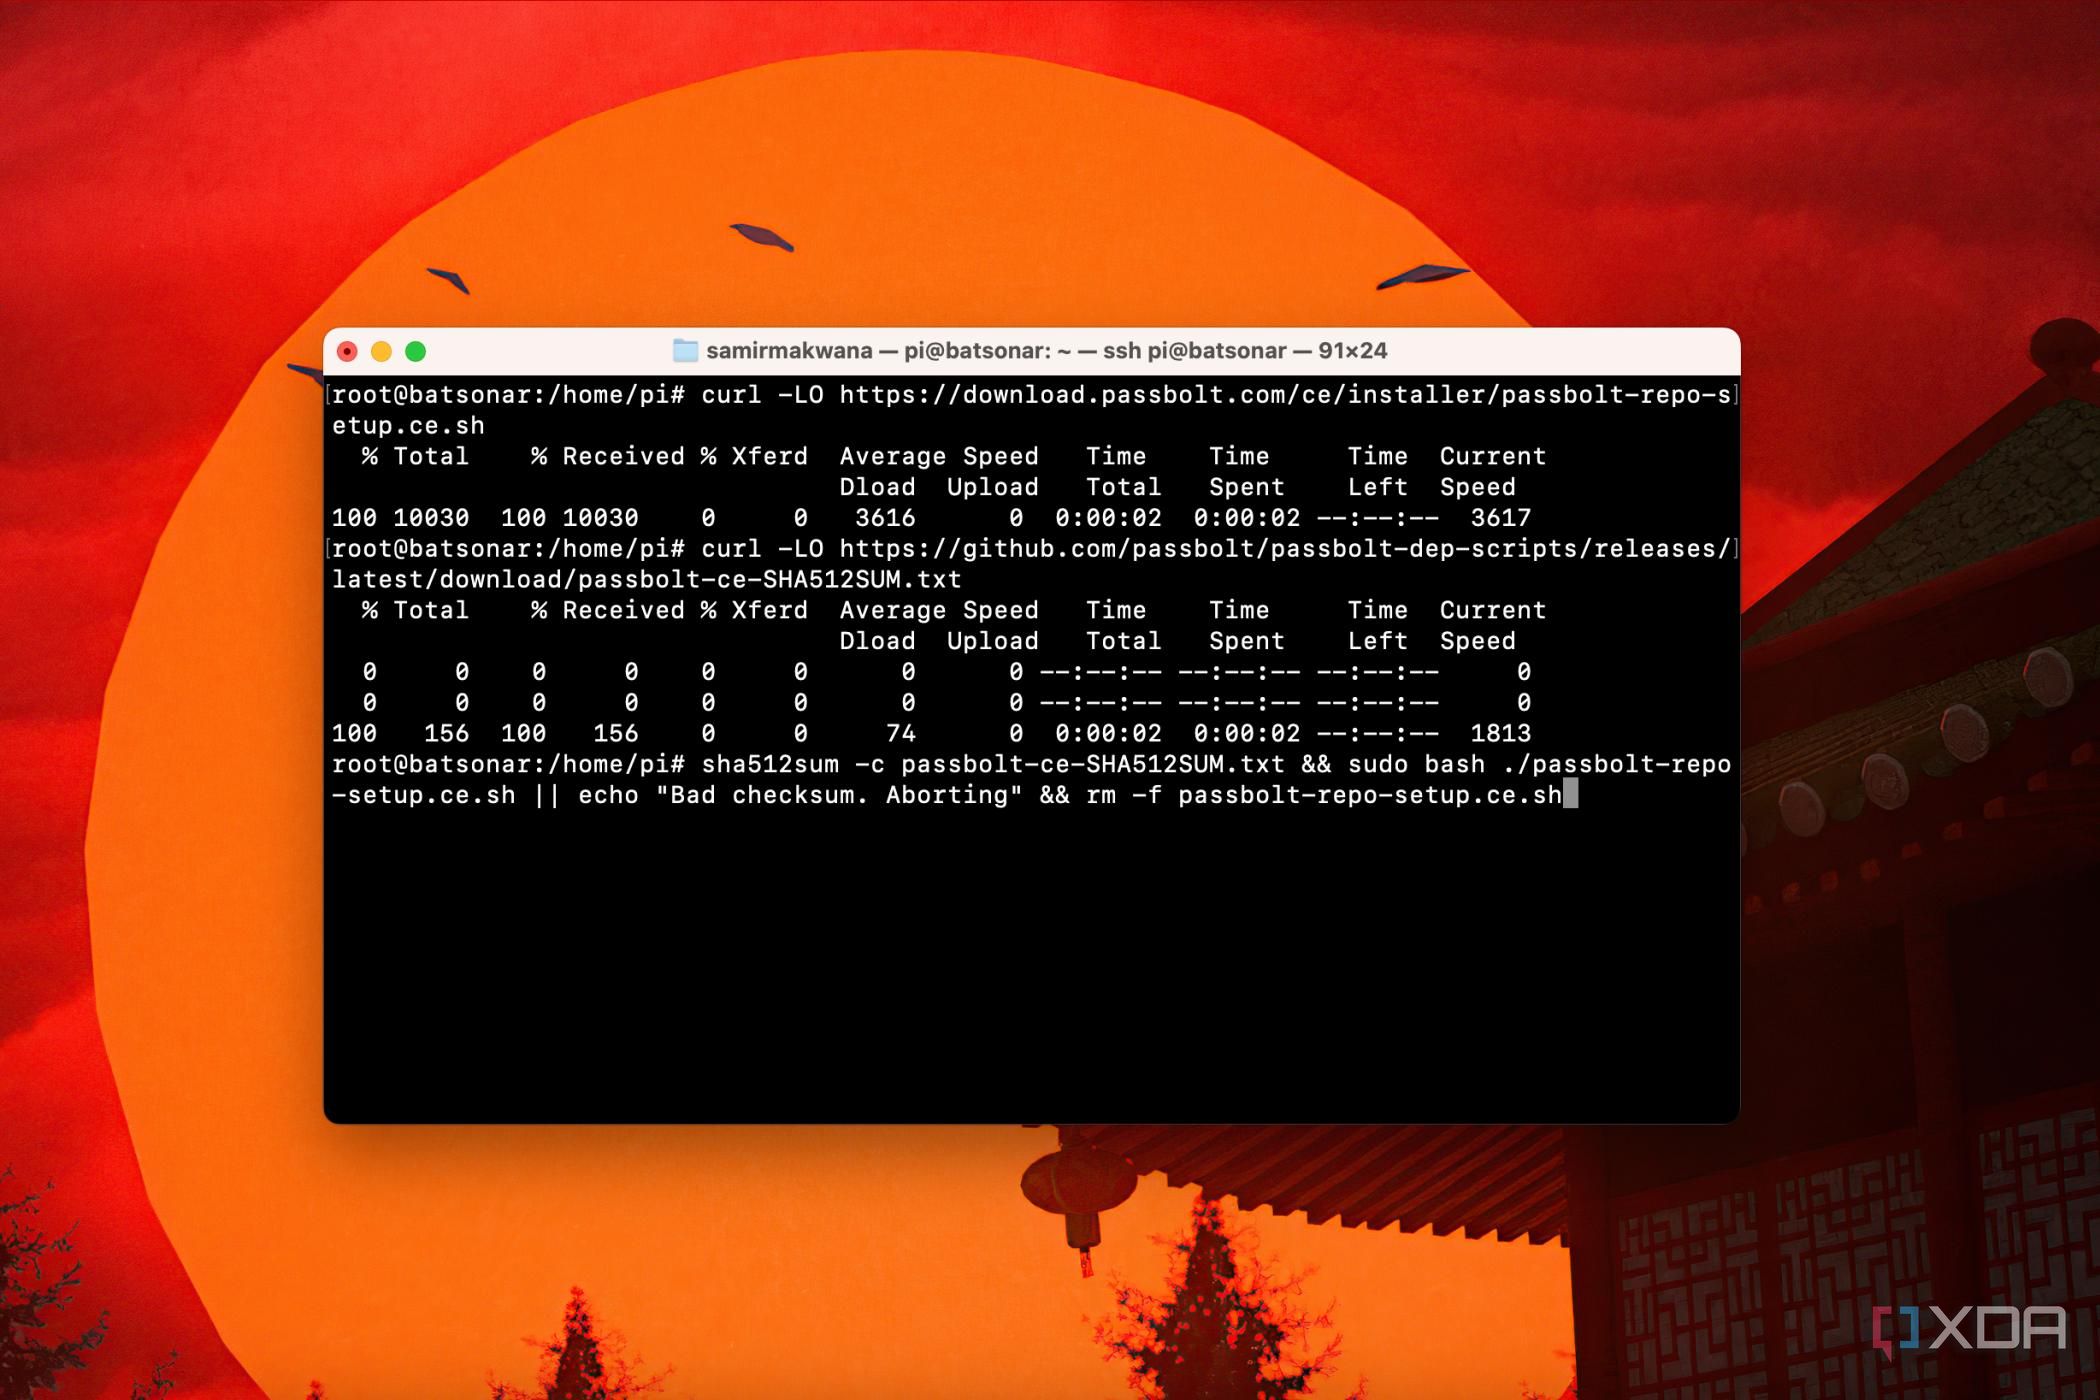
sha512sum -c passbolt-ce-SHA512SUM.txt && sudo bash ./passbolt-repo-setup.ce.sh || echo “Bad checksum. Aborting” && rm -f passbolt-repo-setup.ce.sh
-
If things are fine, you can install the Passbolt server:
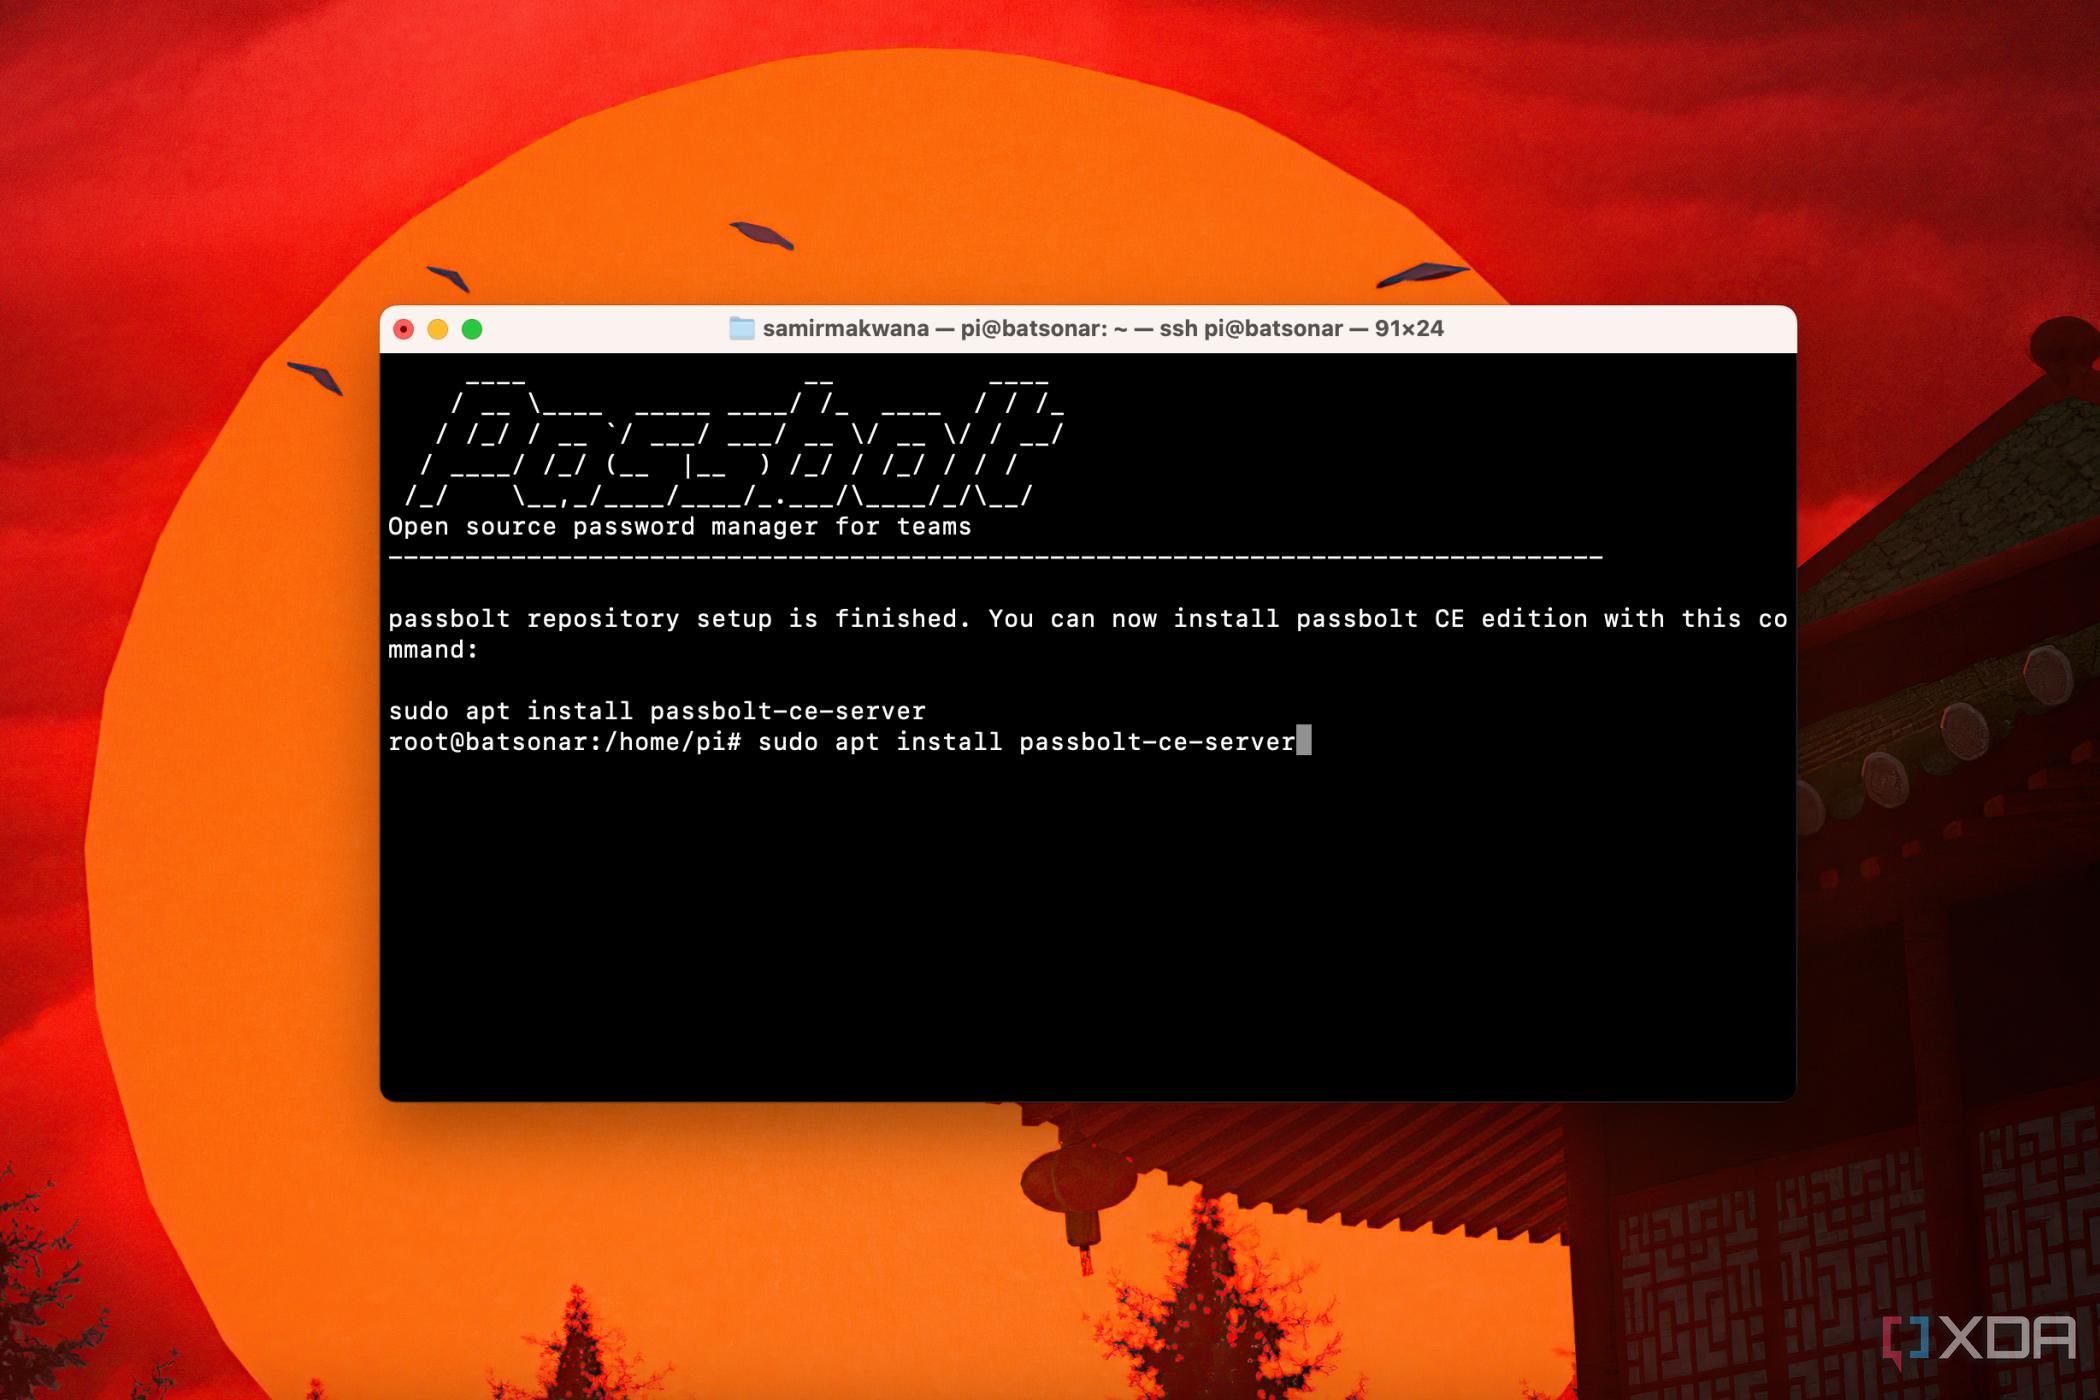
sudo apt install passbolt-ce-server
- Follow the on-screen prompts to install and configure the MariaDB server locally. You can hit Enter to use default database values and add passwords where necessary.
- On the SSL setup screen, select Manual and then provide the address to the folders where the .cert and .key files are. When the configuration script detects the certificate, it’ll proceed to finish the installation.


When the installation finishes, you’ll get a confirmation message. Passbolt will point you to an HTTPS address or IP to complete the installation.
In the event of an error message, you may need to remove (purge) everything and start from scratch.
Configuring the Passbolt server
You’ll need to set up the Passbolt server to use it locally with others.
Use smtp.google.com for free Gmail accounts and set smtp-relay.google.com for paid Google Workspace accounts.
-
Open the hostname or IP that you configured for Passbolt in a web browser to configure it. Click the ‘Get Started’ button.

-
Passbolt for environment variables before it lets you configure anything. If you see all green, click on Start Configuration.

-
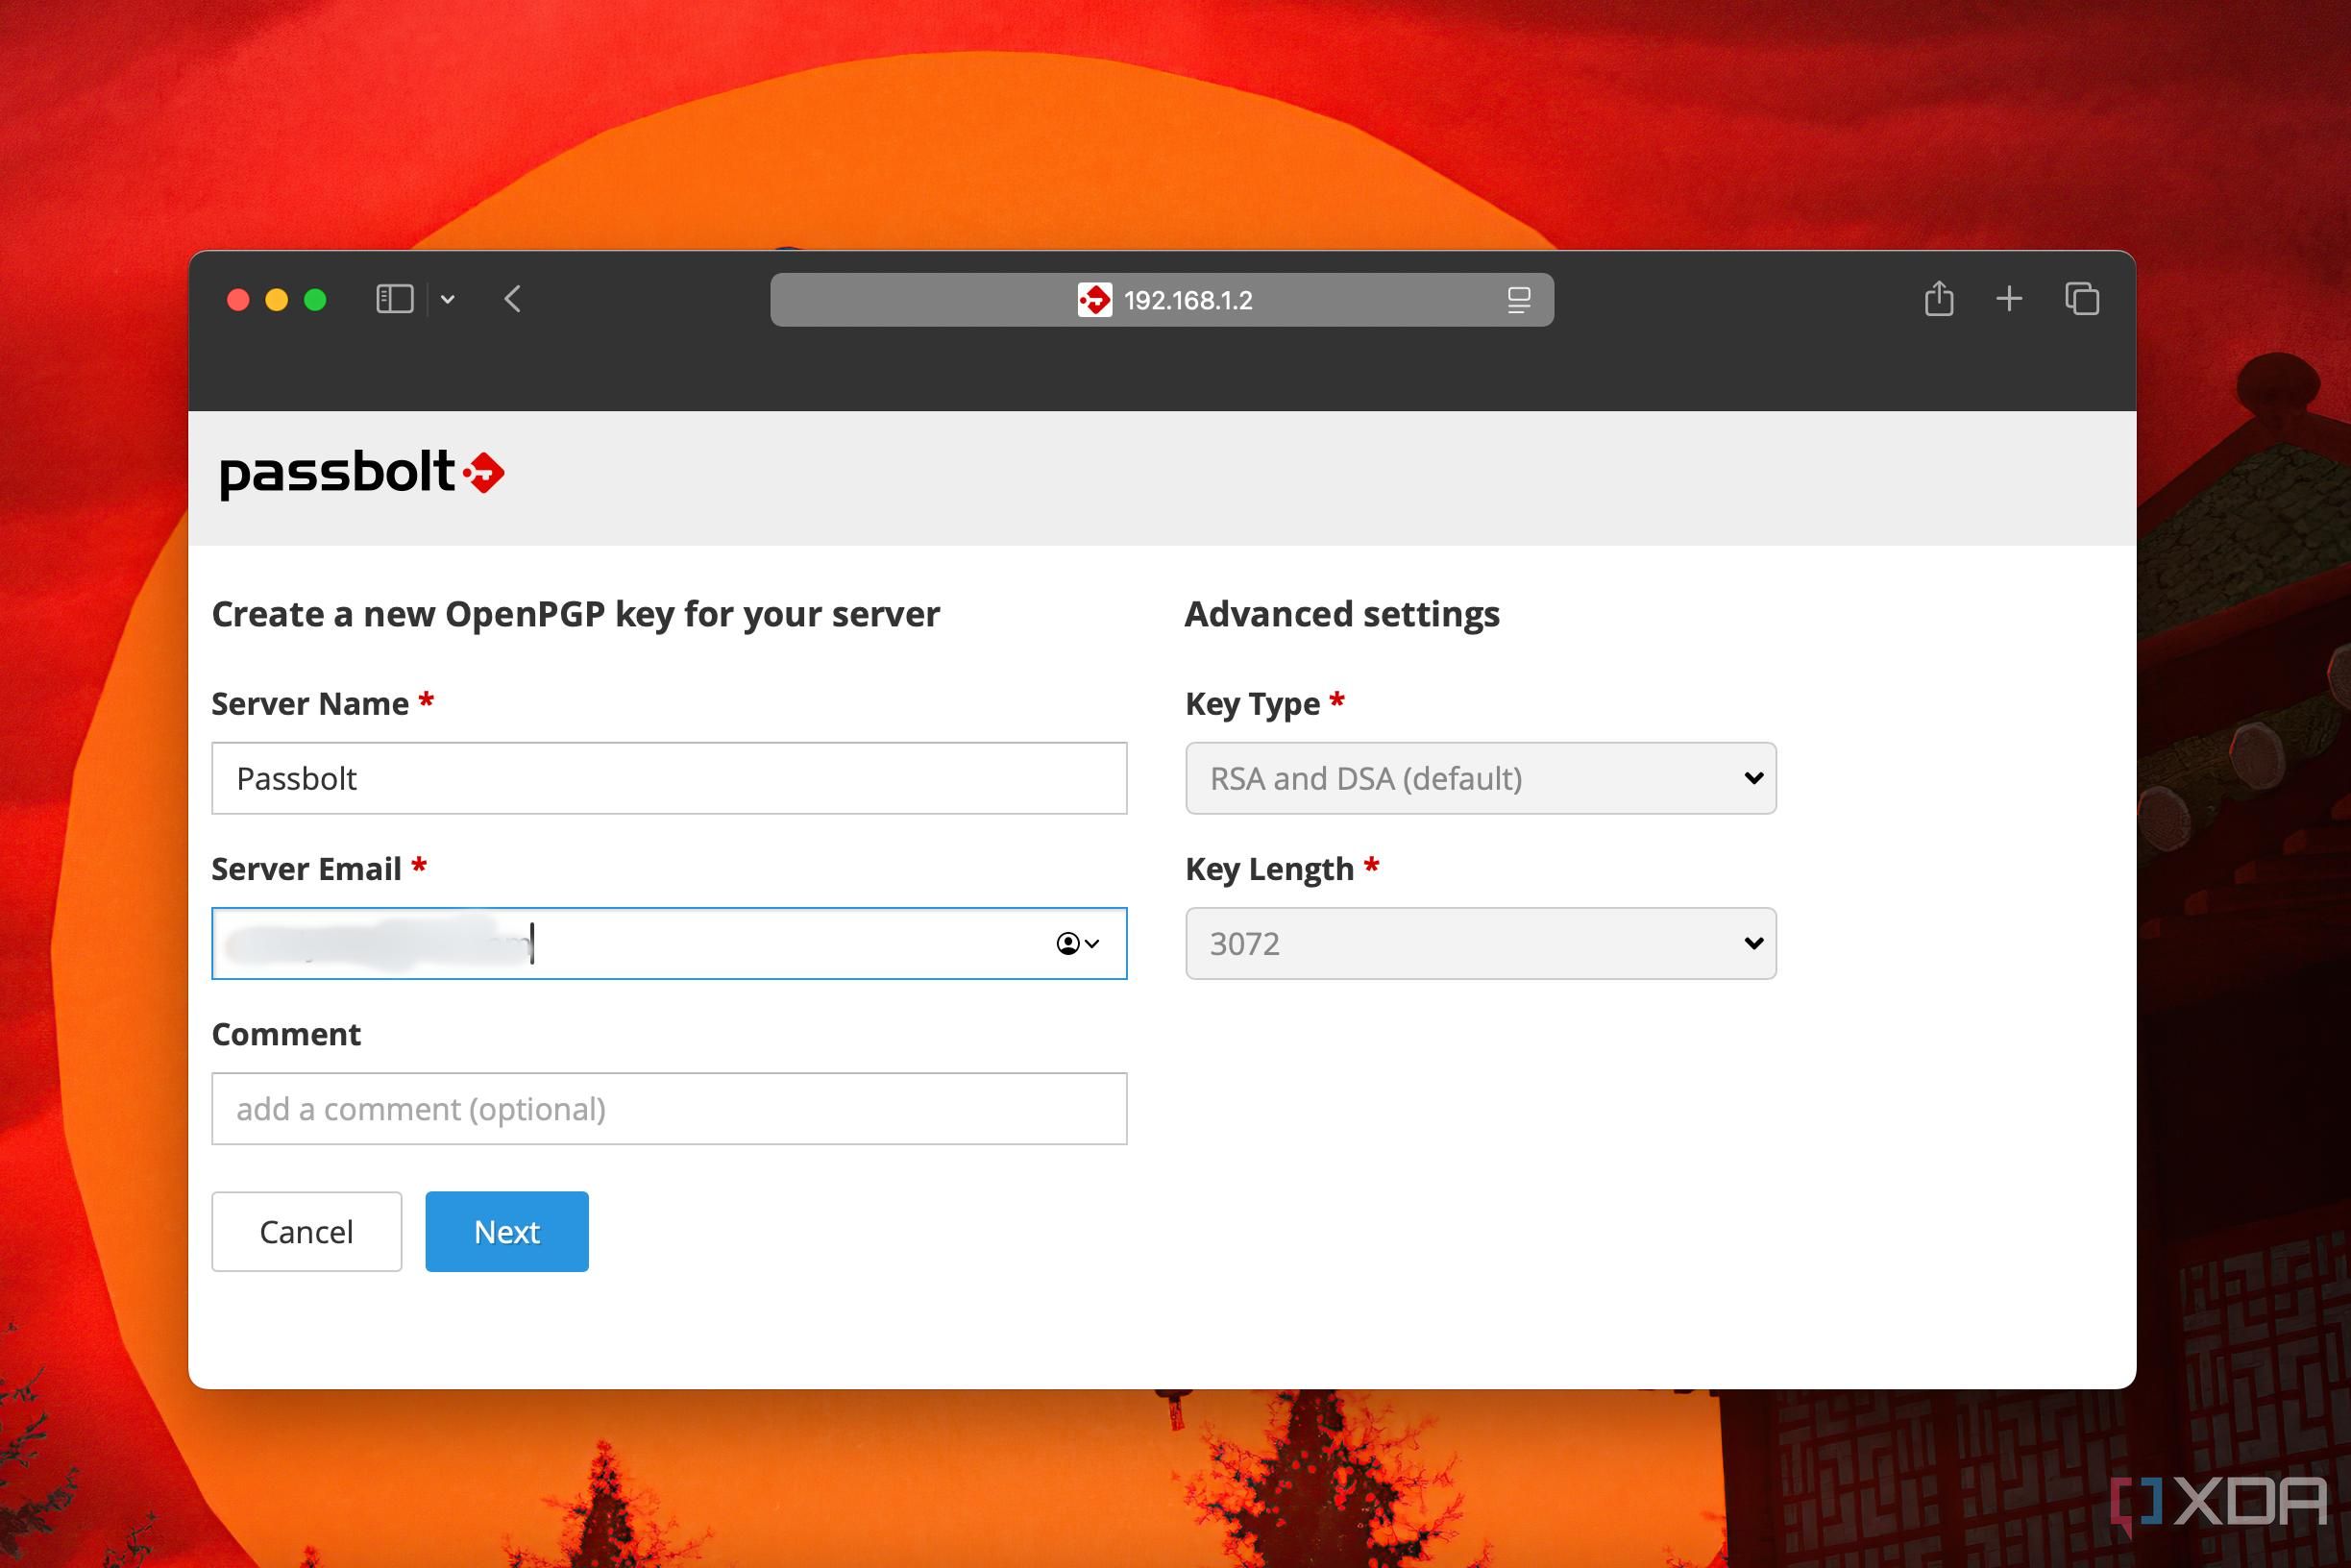
Assign a server name, type in your email, and click Next to let Passbolt create a new GPG key for your server.
-
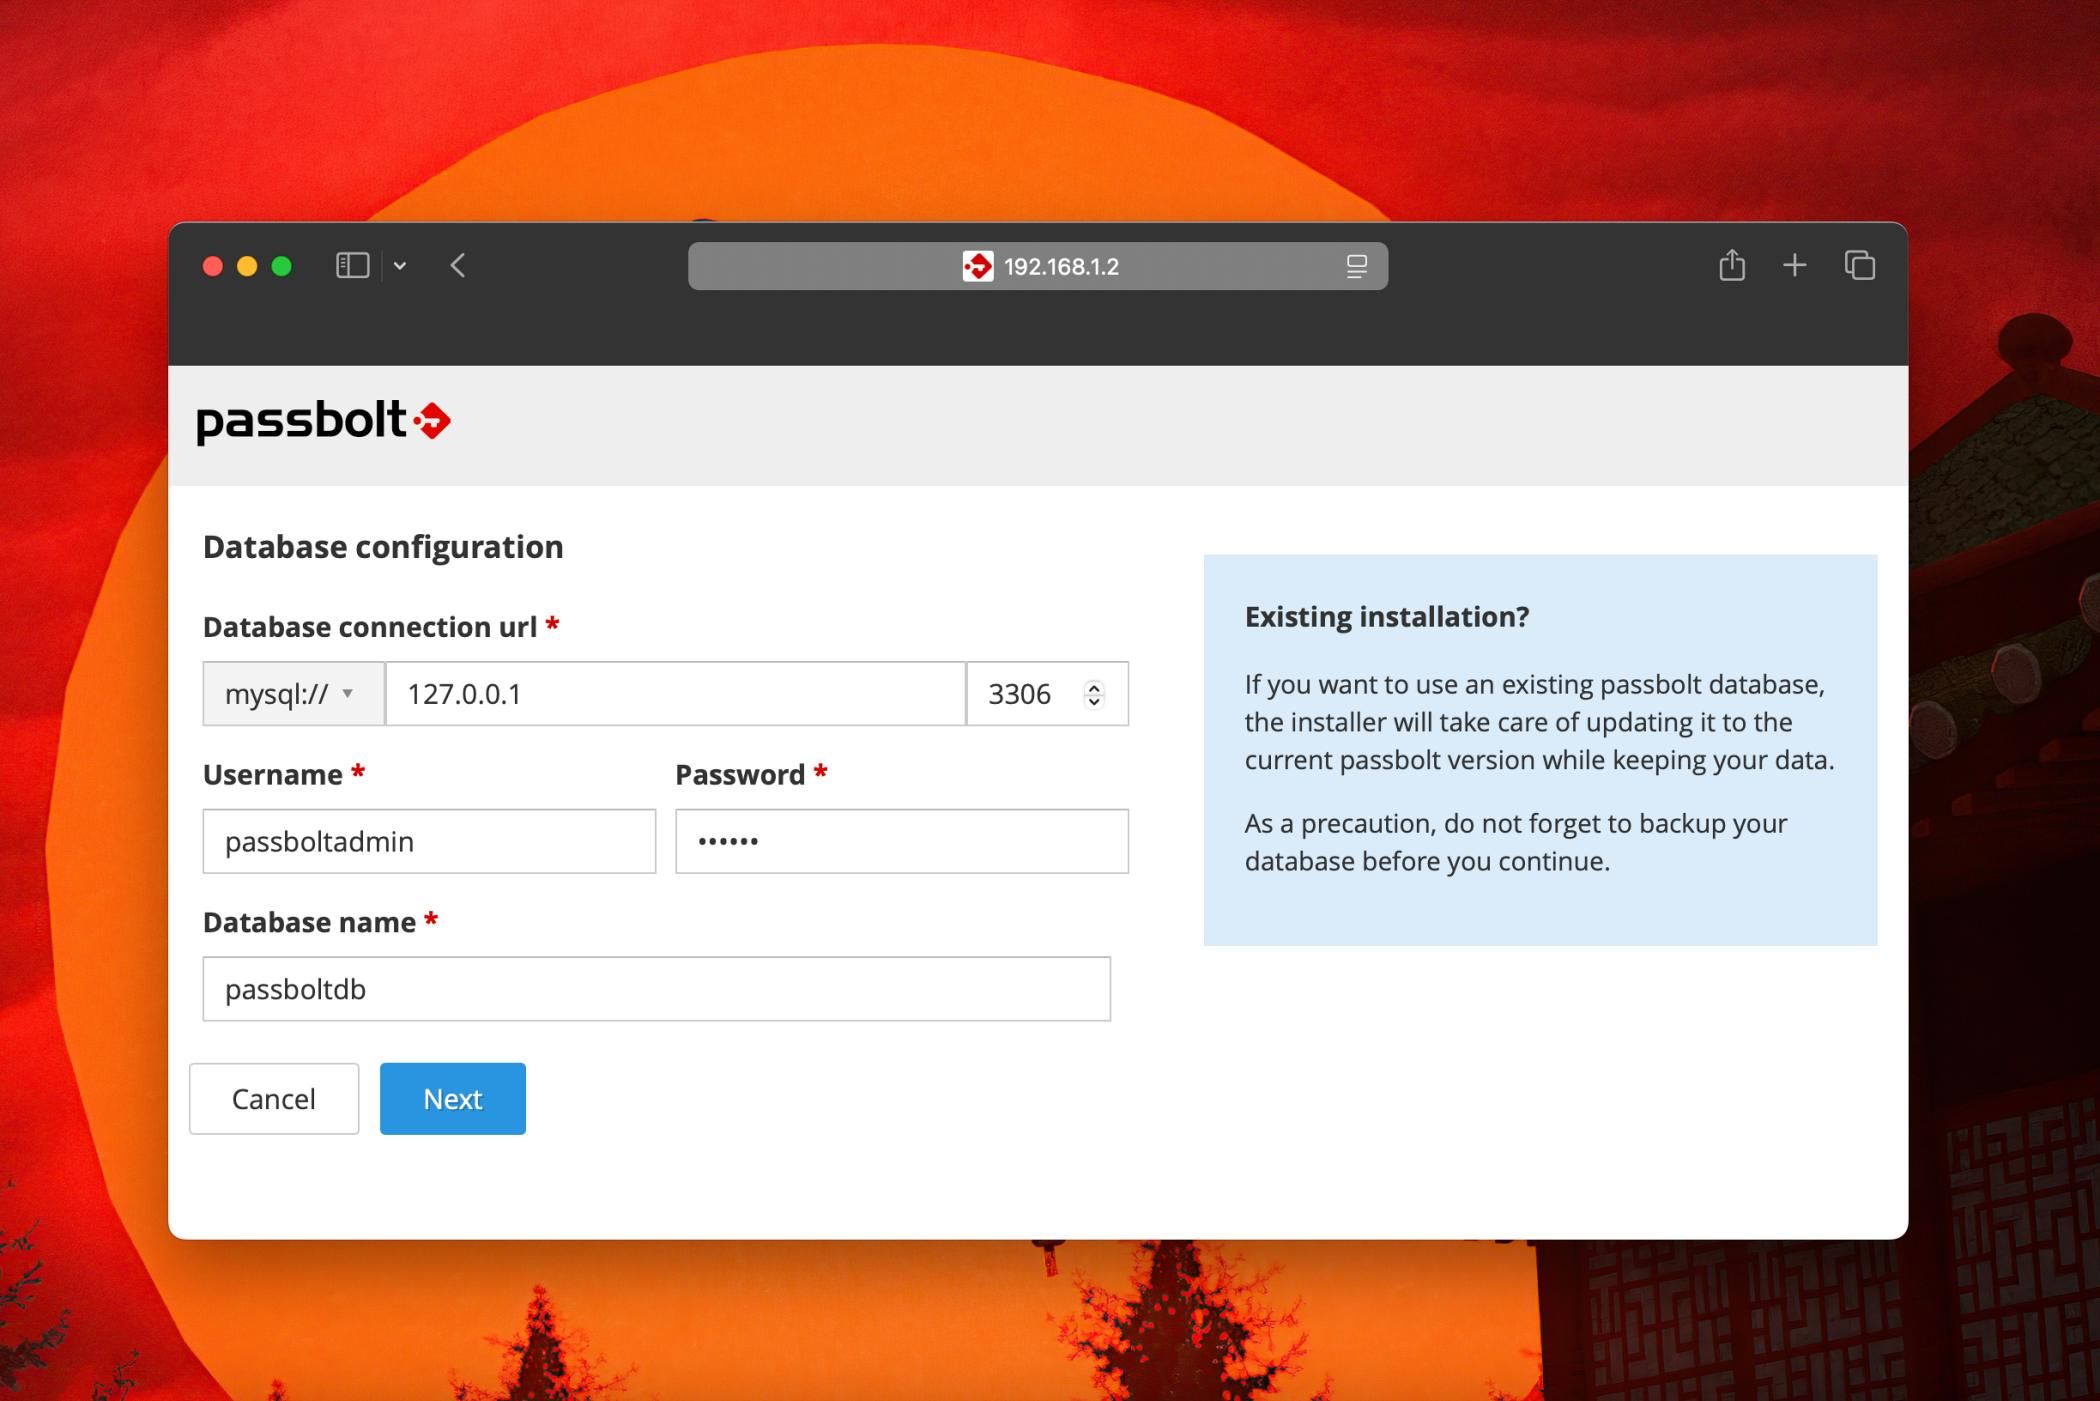
Add the local IP address of the database you created while installing Passbolt, along with the username, password, and database name.
-
You can set up a custom Passbolt URL and ensure that you enable Force SSL for the address.

-
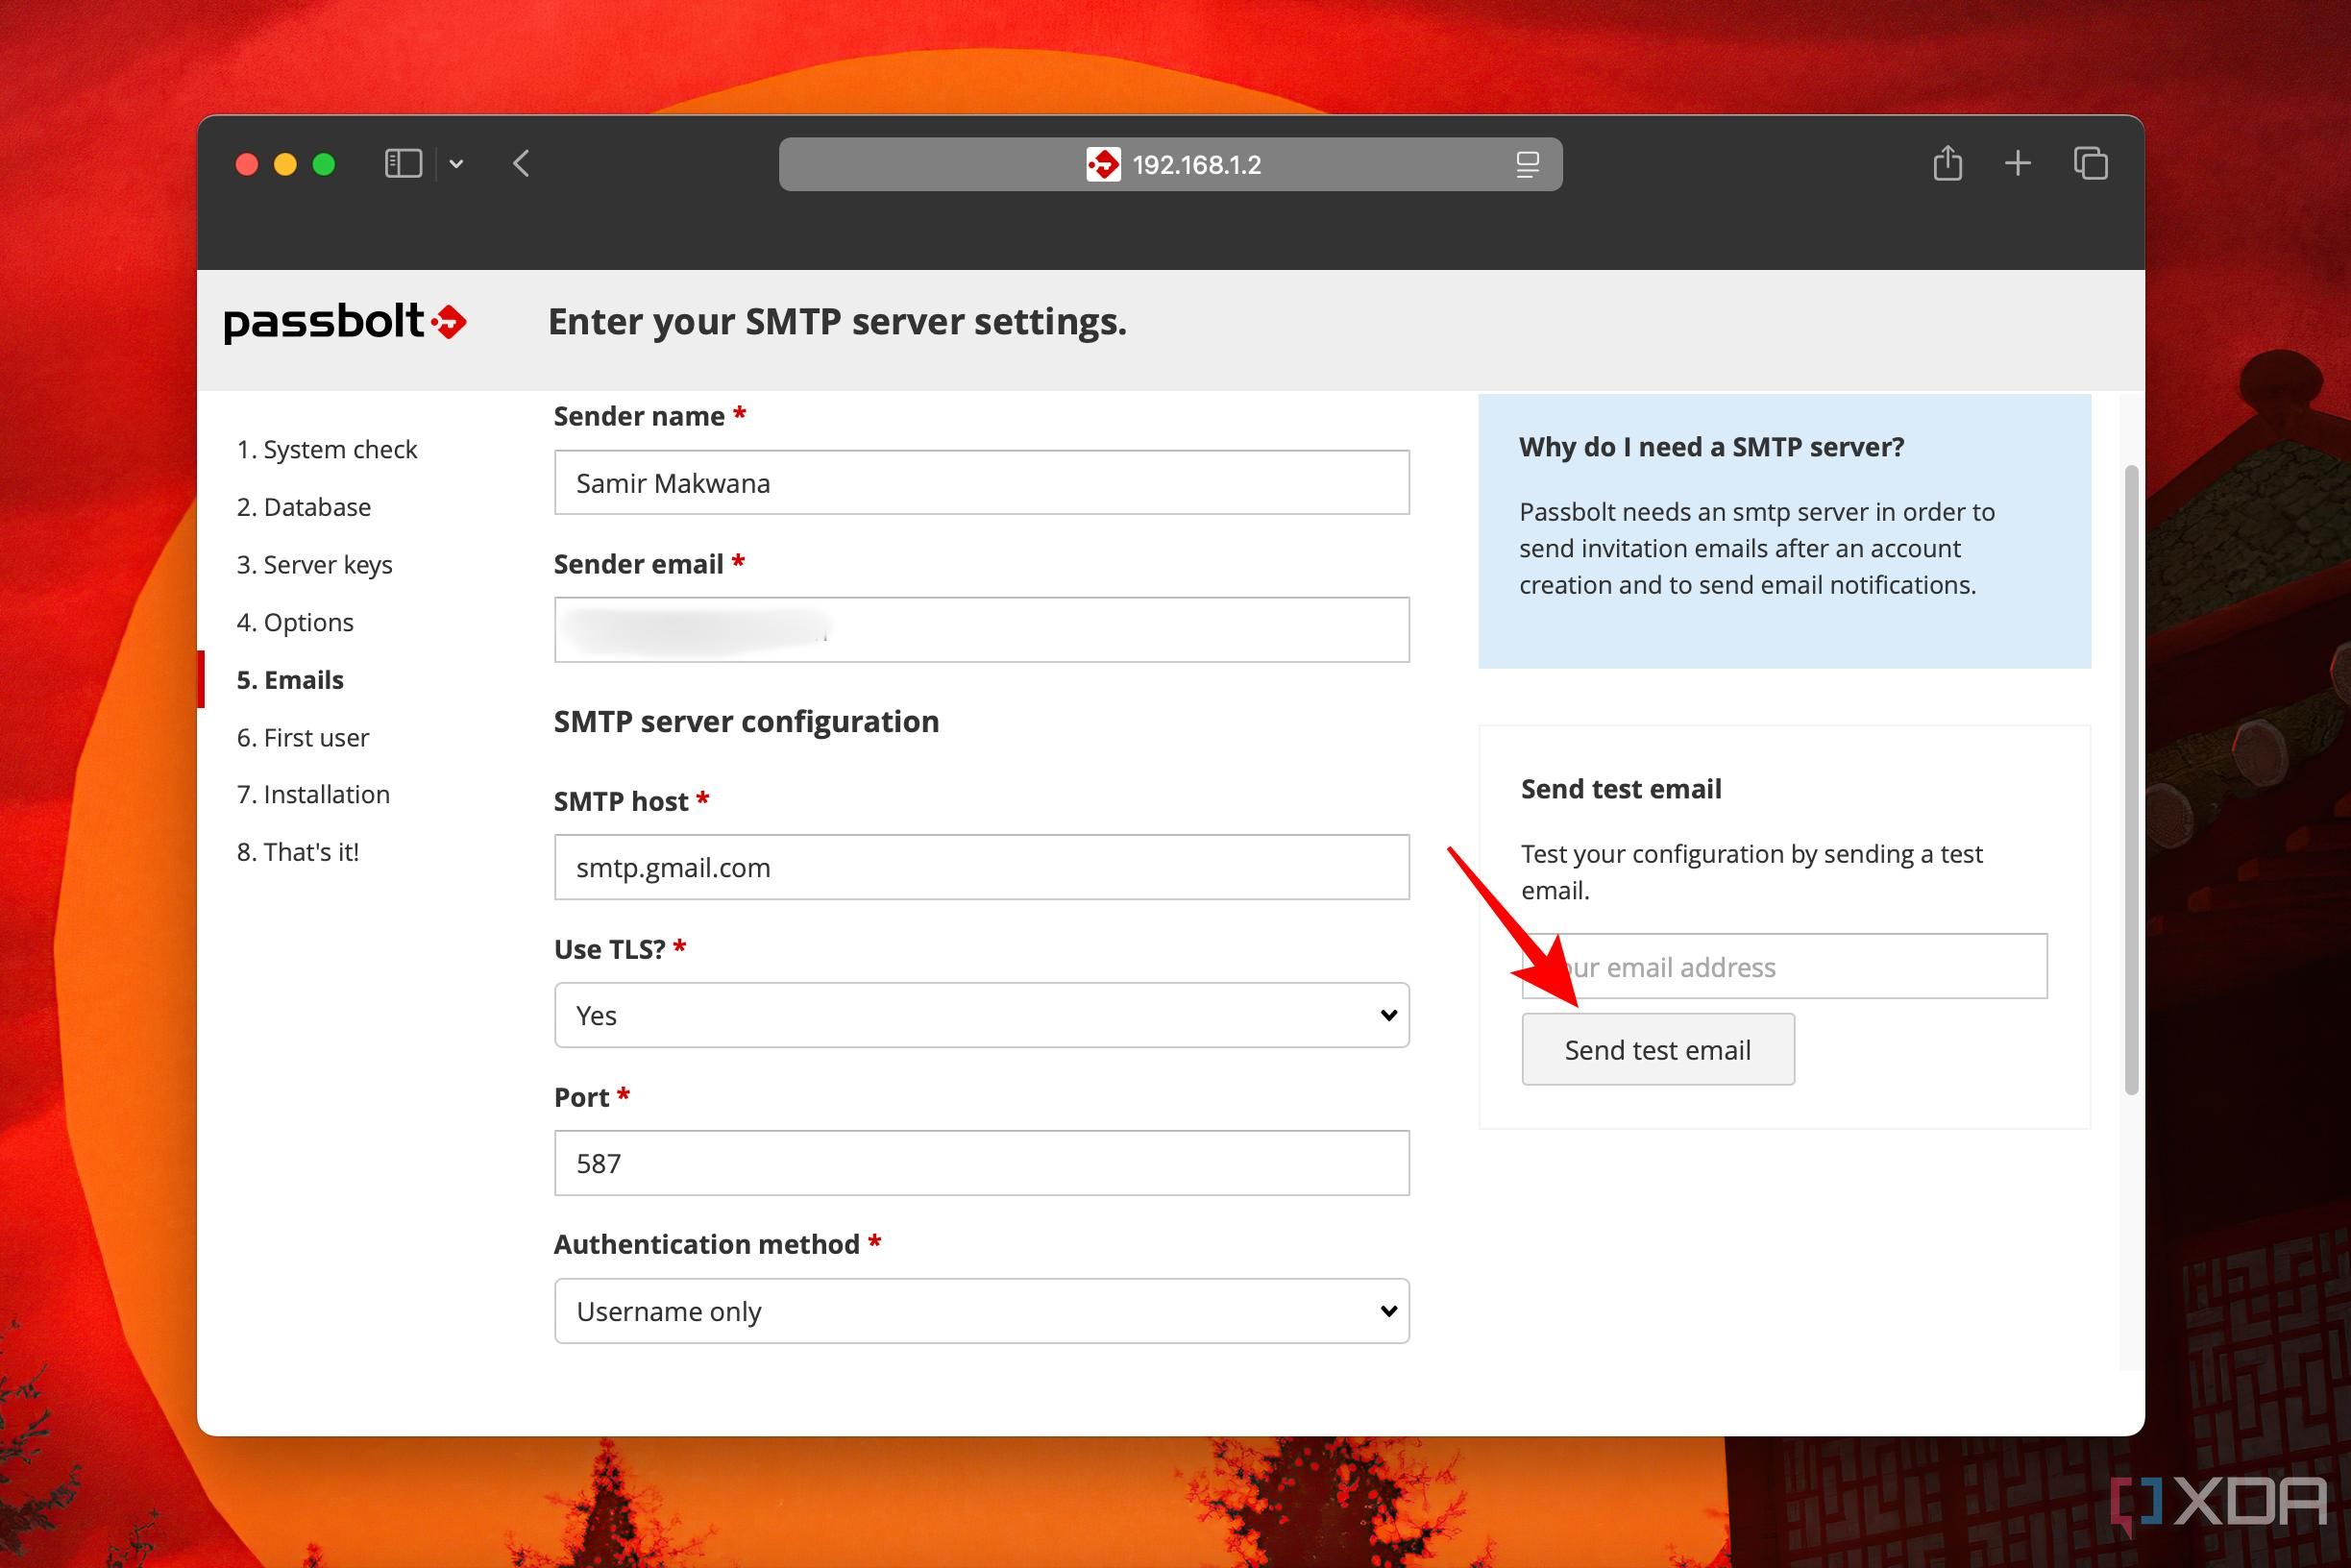
You can use the SMTP server details by setting one up locally or from email service providers like Gmail. It’s necessary to invite people to join your Passbolt server. Use the ‘Send Test Mail’ to check if your SMTP settings work and your machine can send an email.
- Check if the full base URL value matches the full domain name you picked from Tailscale.


Finally, you can create a first user with a name and email to complete the installation.
When you open the Passbolt URL again, you’ll need to set a strong password, and your password recovery kit will download automatically. Store this recovery kit in a safe place. Next, you can define a security token based on a text and color combination to add another security layer.
Afterward, you can add new users and save passwords for different logins. I created a group called Family that sent out bulk invites and made it easier to share select passwords with them. For each invite, Passbolt encourages users to create a strong passphrase, choose a security token for the login, and also auto-downloads the recovery kit to the user’s device.

Related
7 network security myths that make you less secure
Please stop believing in these fairytales about network security.
First step towards mindful password-sharing practices
Getting the family to use a password manager is an enormous task. However, Passbolt made it easy to encourage (and force) them to use stronger, unique passwords and also save recovery kits. At the same time, it reduced their habit of sharing passwords in plain text over chat, text, or just yelling it aloud. Tailscale allows me to help them even when I am away from home.
Self-hosting a password manager has a fair share of benefits and risks. It makes sense and is suitable for enthusiastic home labbers who self-host apps and services on the home network. You can set up a Tailscale or VPN instance to implement appropriate security measures and access it from anywhere.
link


